On This Page
Set Up Add-In with New Account
Follow these steps to install and set up the Visa Invoicing Add-In for Microsoft
Outlook if you do not already have a
Visa Acceptance Solutions
account.- Go to the Microsoft AppSource.
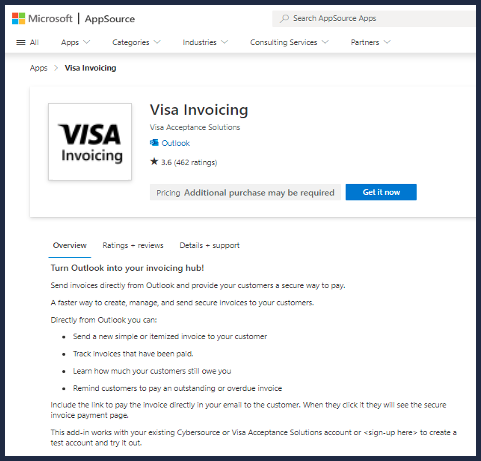
- Use the AppSource search field to find theVisa Invoicingadd-in.
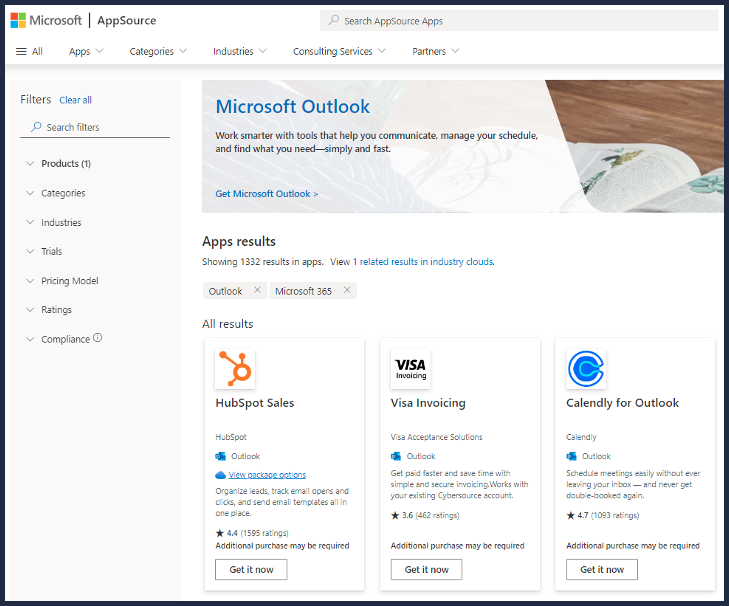
- ClickGet it nowto download and install it.
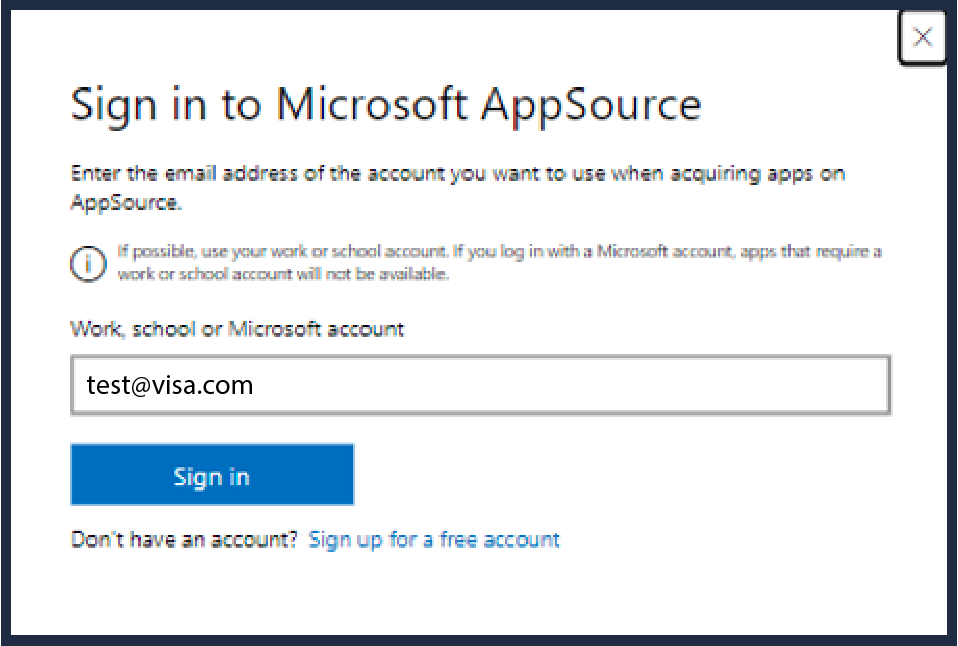
- If you are not already signed in to your Microsoft account, enter your account credentials on the Sign in to Microsoft AppSource window, then clickSign in.
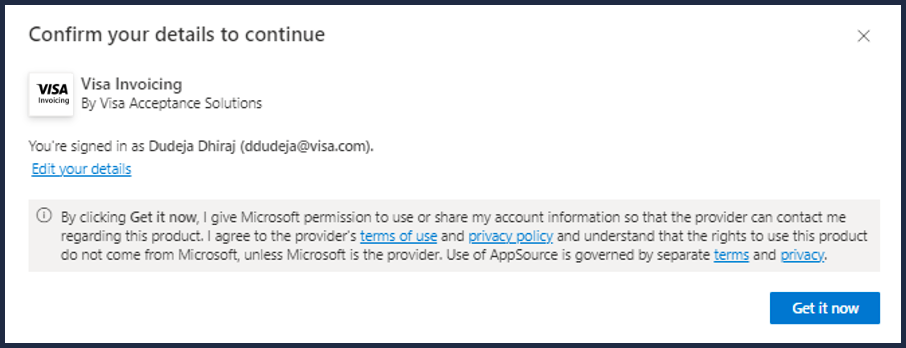
- Confirm or edit your details, and clickGet it now.
- A window opens asking if you would like to install Visa invoicing. ClickContinue.
 The Visa Invoicing Add-in installs on your Outlook desktop application.
 - Open your Outlook desktop application and click theVisa Invoicingadd-in.
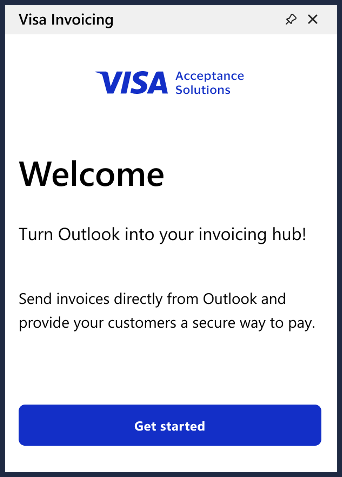
- On the Welcome page, clickGet started.
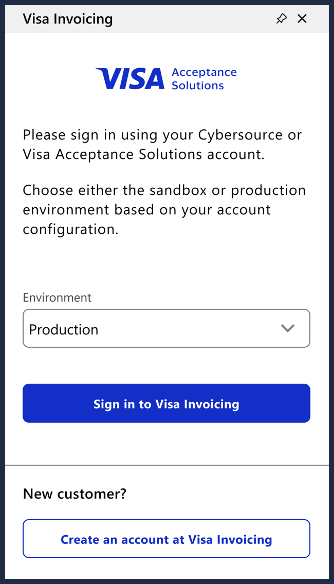
- ClickCreate an account at Visa Invoicing.
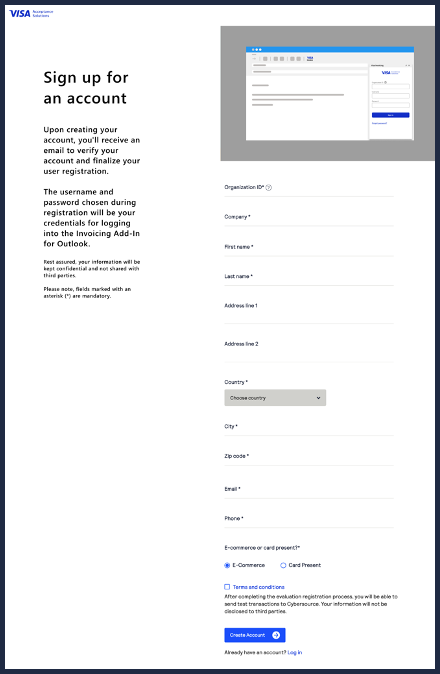
 You are redirected to the Sign up for an account page.
 - On the Sign up for an account page, enter the information requested, check theTerms and conditionscheck box, and then clickCreate Account.
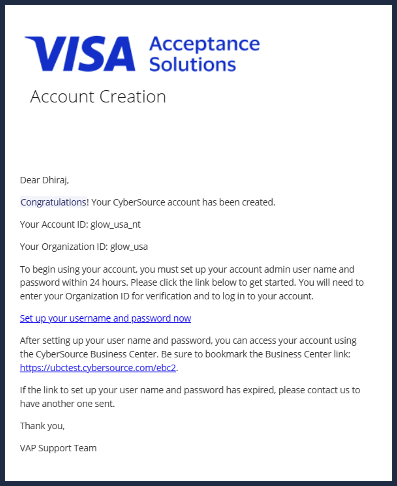
- Check your email account for aVisa Acceptance SolutionsAccount Creation confirmation email message. The email will contain your account ID and your organization ID. In the email, clickSet up your username and password now.
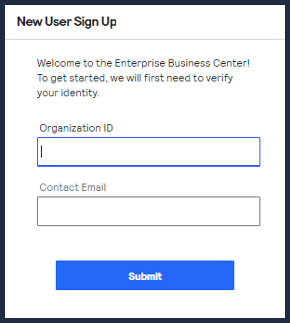
 You are redirected to the account creation page.
 - On the New User Sign Up page, enter your Organization ID and Contact Email, and then clickSubmit.
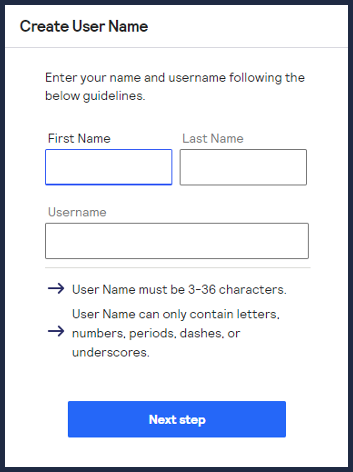
- On the Create User Name page, enter your first name, last name, and username, and then clickNext step.
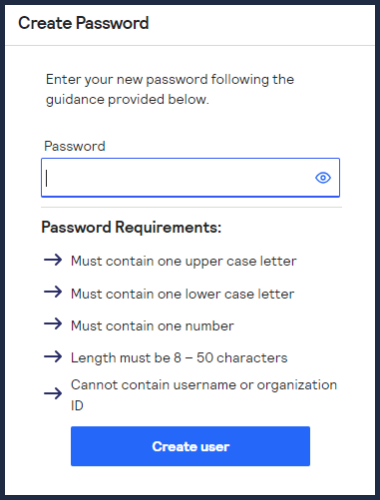
- On the Create Password page, enter a password that conforms to the password requirements, and then clickCreate user.
 The Successfully Created User page opens, confirming that your account is successfully created.
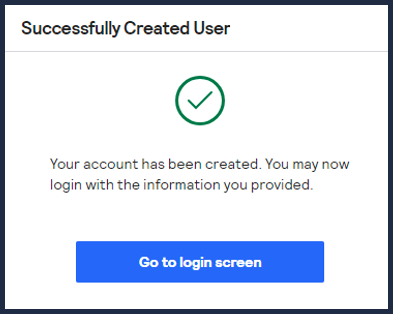
- Open your Outlook desktop application and click theVisa Invoicingadd-in.
- On the Welcome page, clickGet started.
- SelectTestenvironment and then clickSign in to Visa Invoicing.
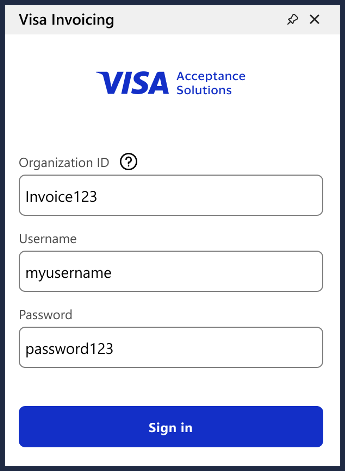
- On the sign-in page, enter yourBusiness Centerorganization ID, username, and password. ClickSign in.
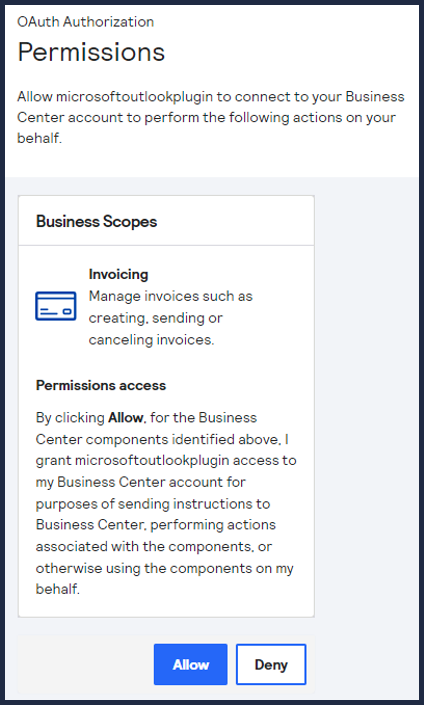
- Review the permissions disclosure, and clickAllowto grant Microsoft Outlook access to yourBusiness Centeraccount for invoicing purposes.
 When you log in to the Visa Invoicing add-in, the Dashboard opens. You can choose from several tasks such as creating and managing invoices, managing permissions, and signing out. Any invoices you already have are listed.
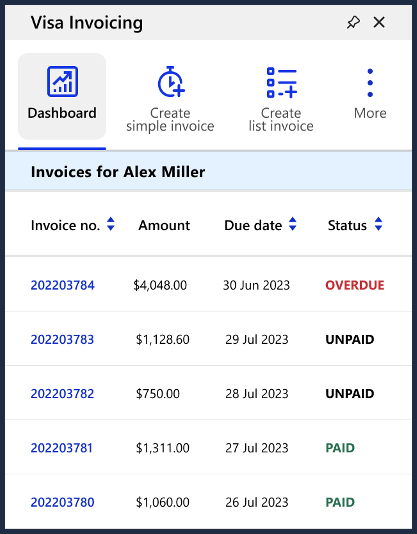
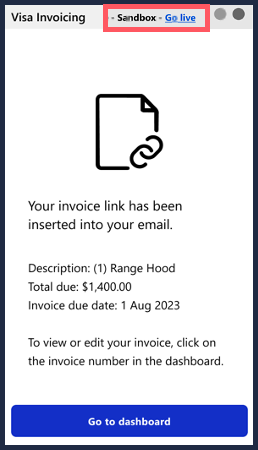
- When you are ready to activate your account for the production environment, clickGo live.
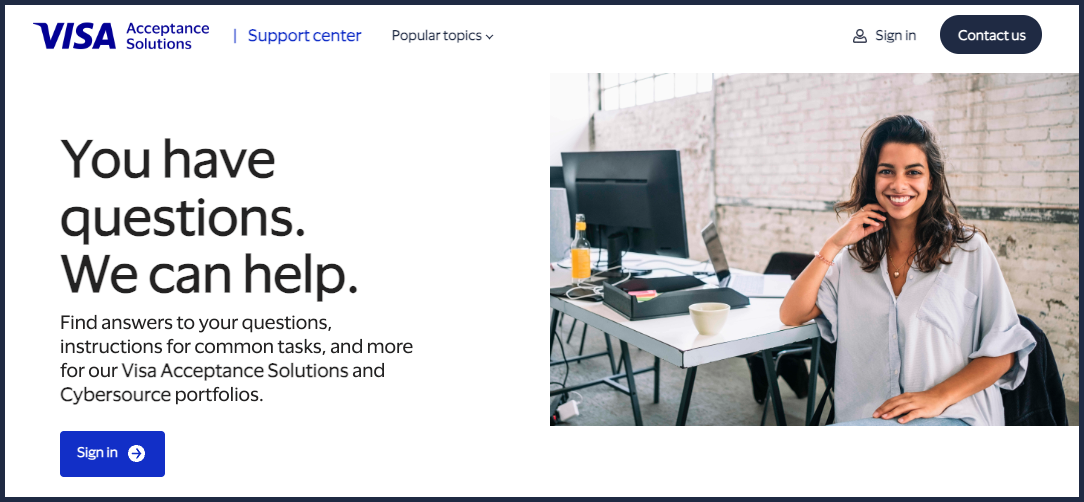
 You are redirected to theVisa Acceptance SolutionsSupport Center.
 - ClickSign in.
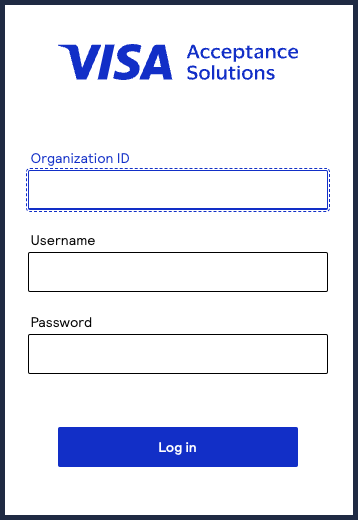
 You are redirected to theBusiness Centerlogin page.
 - Enter your organization ID, username, and password. When done, clickLog in.
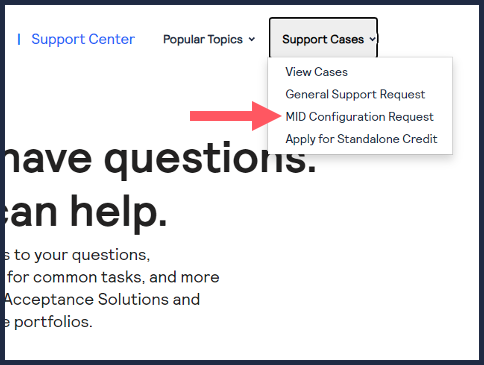
 You are redirected to theVisa Acceptance SolutionsSupport Center page.
 - At the top of the page, chooseSupport Cases > MID Configuration Request.
- On the MID configuration request page, click theMID activationbutton to the right. Repeat for all other options that apply to you. When done, clickSubmit.
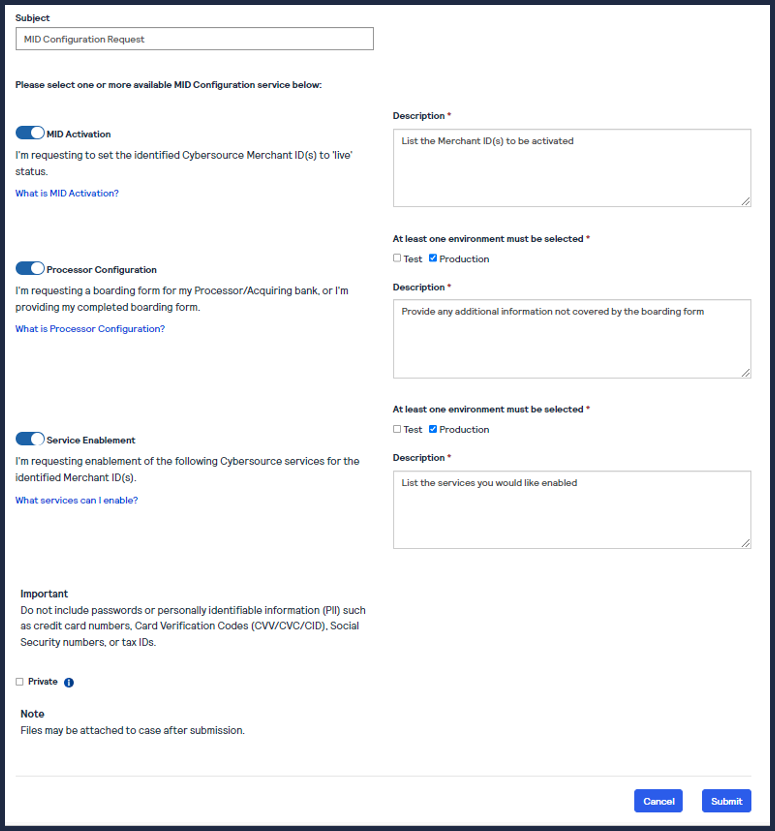 You have successfully submitted a request to create a production account.